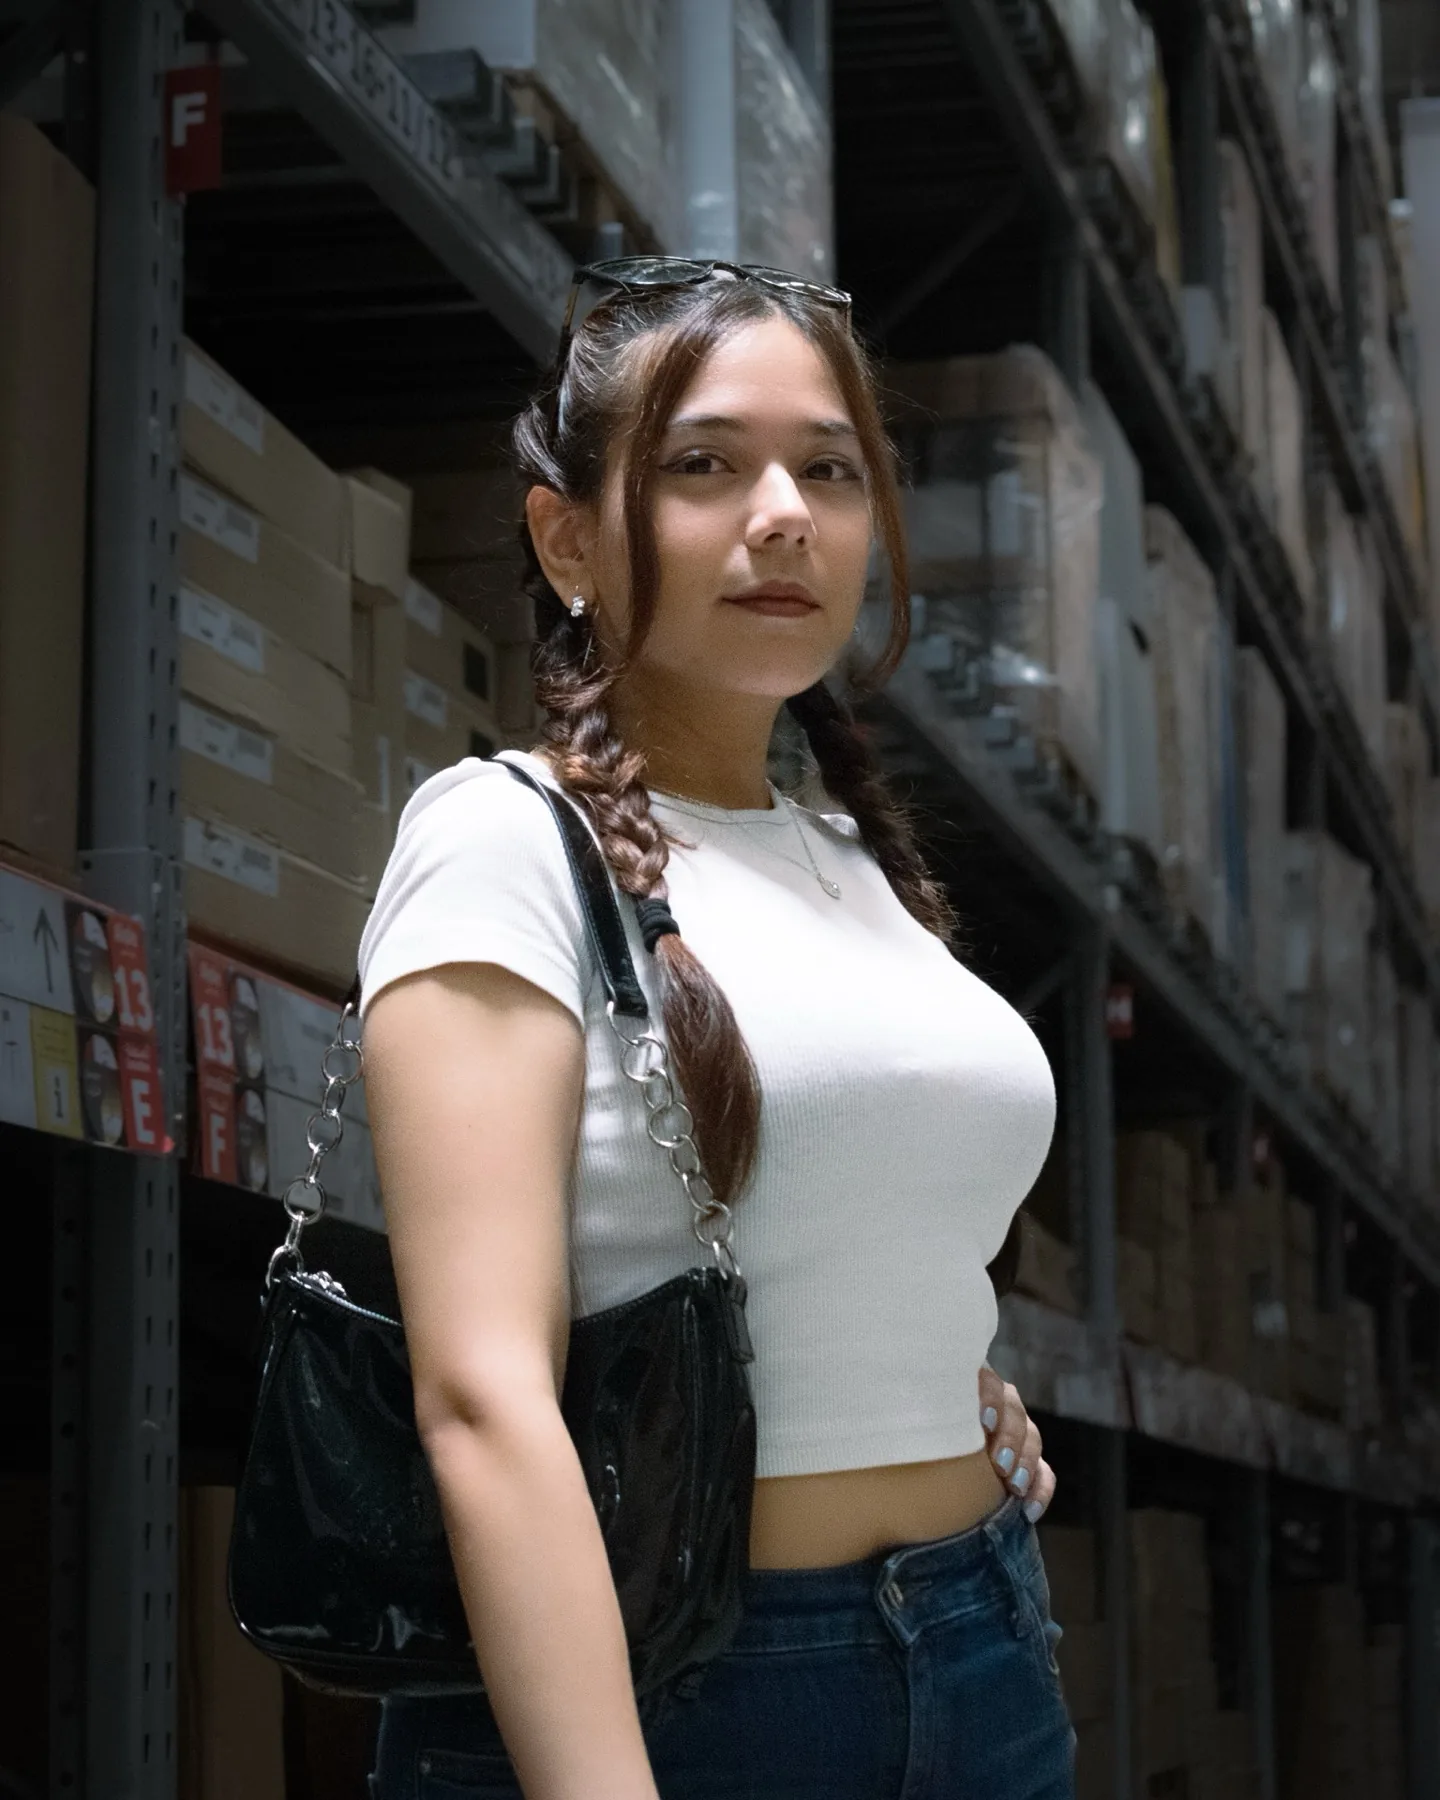
The question I hear most often before a first portrait session is not about the camera, location or editing. It is: "What am I supposed to do with my hands?"
Usually, that question means something bigger: What if I look awkward? What if I do not know how to pose? What if every expression feels forced?
Here is the reassuring answer: you do not need to arrive knowing how to model. Direction is part of the photographer's job. A good portrait session is not a test of how many poses you memorised. It is a collaboration in which small adjustments to posture, expression and movement build the final frame.
These principles will help you understand that direction, practise without becoming robotic and feel more prepared for your first photoshoot.
If the camera were raised right now, start here:
- Stand tall, then let your shoulders drop.
- Shift your weight slightly instead of locking both knees.
- Keep your hands occupied but gentle.
- Push your chin a little forward, then let the photographer adjust it up or down.
- Breathe out before the frame.
- Think about the intended mood instead of trying to "look photogenic".
- Move between frames rather than freezing in one position.
That is enough to begin. Everything else can be refined one instruction at a time.
1. Know what the portrait needs to say
Posing should serve the photograph, not exist separately from it.
A professional headshot may need open posture and a calm, direct expression. A personal portrait can be quieter and more reflective. An editorial frame may use sharper angles or unusual shapes. A model portfolio needs range, while a social portrait may need warmth and ease.
Before the session, tell the photographer:
- What the photographs are for
- Which images in their portfolio you respond to
- Whether you prefer polished, natural, strong, soft, playful or cinematic photographs
- Anything you feel self-conscious about
- Any movement, touch, clothing or angle that is outside your comfort boundary
This is not unnecessary detail. It gives the photographer a destination. Without one, even technically good posing can communicate the wrong thing.
2. Build posture without becoming stiff
"Stand straight" often makes people lift their shoulders, hold their breath and lock every joint. That creates tension rather than confidence.
Instead, imagine creating a little space between the top of your head and your shoulders. Lengthen the spine, let the shoulders settle and keep the knees relaxed. The result should feel alert but still movable.
Posture is not one permanent position. Between frames, reset. Shake out your hands, roll your shoulders once and breathe. A strong portrait often comes immediately after that small release.
3. Use angles with a purpose
Turning slightly away from the camera can create depth through the shoulders and torso. Facing the camera directly can feel more immediate, symmetrical and powerful. Neither is automatically better.
Start by testing three simple positions:
- Body and face both towards the camera
- Body turned slightly while the face returns towards the lens
- Body and gaze both turned away before returning to camera
The photographer should compare the result and refine the angle for the light, clothing, lens and intended mood. Your job is not to find a mythical "good side" before the session begins.
4. Shift your weight and create asymmetry
When both feet, hips and shoulders are perfectly level, a standing pose can feel formal or static. Moving more weight onto one leg often creates a more relaxed line. Let the other knee soften or step one foot slightly forward.
Then change only one element at a time: turn a shoulder, lower one hand, tilt the head or move the gaze. Small differences are easier to control than jumping between unrelated poses.
For a deliberately strong or symmetrical portrait, the photographer may bring you back to an even stance. These are tools, not rules.
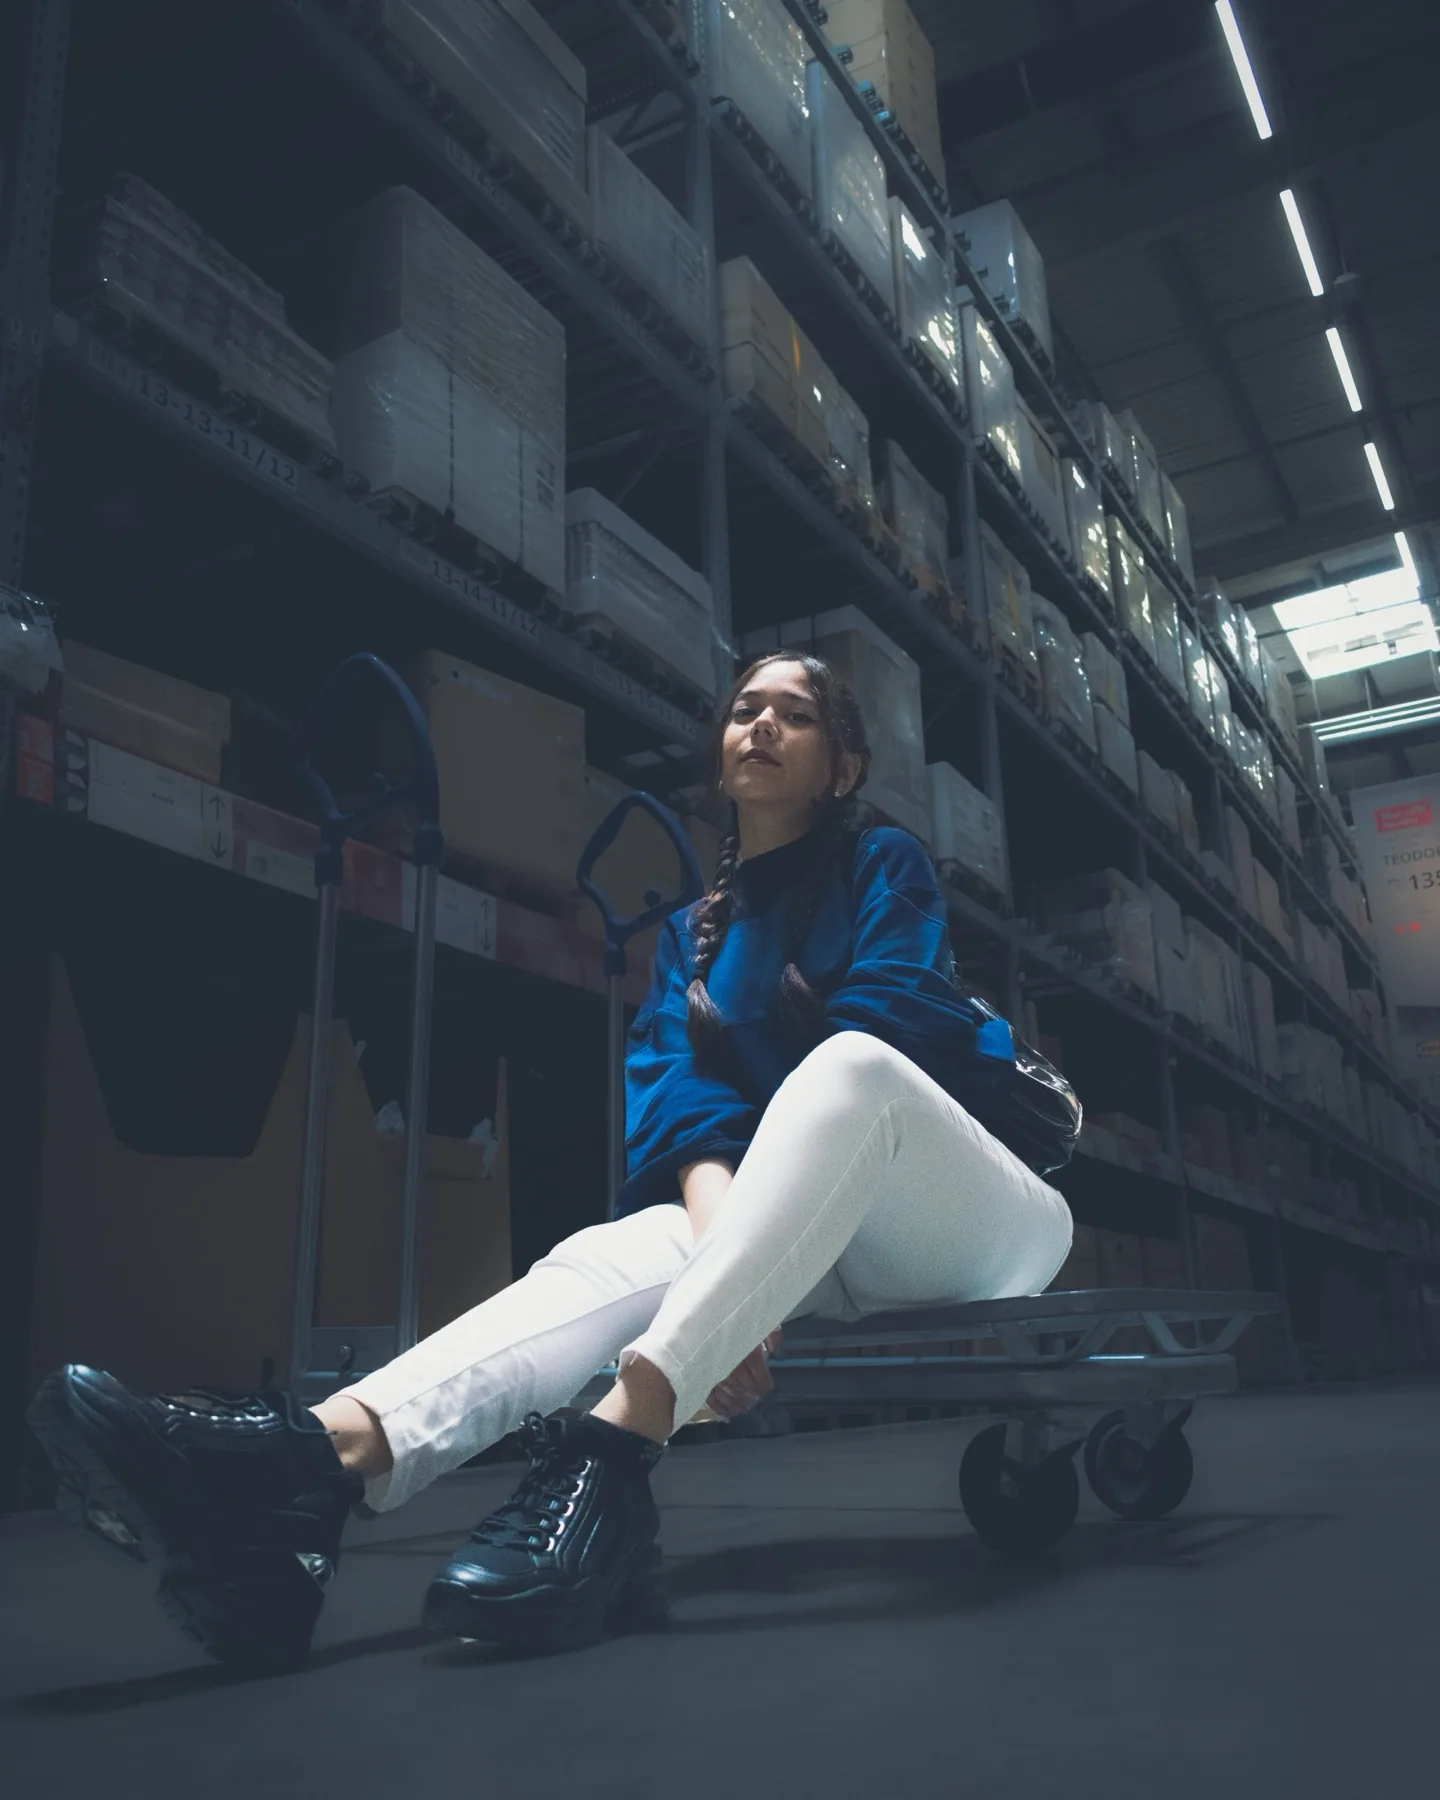
Weight shifted, one hand grounding the pose - asymmetry reads as natural rather than posed.
5. Give your hands a reason to be there
Hands look awkward most often when they have no purpose, or when they grip too hard.
Try simple actions:
- Lightly touch a cuff, lapel, necklace or watch
- Place part of a hand in a pocket without clenching it
- Hold the edge of a jacket or fabric
- Rest one hand gently over the other
- Touch the hair briefly, then let the hand move away
- Place a hand on a chair, wall or table when the composition supports it
Keep the fingers long and relaxed. Avoid pressing the palm hard into the face or body, which can create visible tension. If a hand is close to the lens, the photographer may reposition it because perspective can make it appear disproportionately large.
The easiest solution is often movement: adjust the sleeve, release it, then repeat more slowly while the photographer shoots through the action.
6. Treat the chin as a small adjustment
People often pull the chin backwards when they become aware of the camera. A useful reset is to move the chin slightly forward before adjusting it up or down. The movement should be subtle; forcing the neck creates a different problem.
The correct direction depends on camera height, light and expression. "Chin down" is not a universal command. Sometimes the frame needs the chin lifted, the face turned or the eyes brought back to the lens. Follow the photographer's small corrections rather than holding one angle throughout the session.
7. Create an expression instead of attaching a smile
A forced smile usually begins in the mouth and stops there. A convincing expression comes from a thought, breath or reaction.
Try an expression sequence:
- Look away from the camera and breathe out.
- Bring the eyes back without moving the head.
- Let the mouth remain neutral.
- Add the beginning of a smile rather than the final version.
- Relax completely and repeat with a different thought or energy.
The photographer can also give prompts: remember a person, react to a sound, walk into the light, look past the camera or hold a moment of stillness. You are not pretending to be someone else. You are giving the face a real reason to change.
If you dislike smiling photographs, say so. A portrait does not need a smile to feel warm, approachable or alive.
8. Move through the pose
Many natural-looking portraits are photographed between the positions someone would call a pose.
Useful movements include:
- Walking slowly towards or across the camera
- Turning away and looking back
- Adjusting a jacket, sleeve or hair
- Shifting from one foot to the other
- Taking a breath and releasing the shoulders
- Sitting down or standing up slowly
- Repeating one simple action at half speed
Movement gives the body something understandable to do. It also creates variations in fabric, hair, expression and balance without requiring twenty memorised positions.
Move more slowly than feels normal and pause briefly at the end of an action. That gives the photographer time to recognise and capture the strongest moment.
9. Make seated poses active
Sitting all the way back into a chair can collapse posture. Begin closer to the front edge when it is safe, keep at least one foot grounded and lengthen from the hips rather than bending only through the shoulders.
Test a few variations:
- Lean slightly forward with forearms resting lightly on the thighs
- Turn the knees away while bringing the upper body back towards the camera
- Use the chair's back or arm as a compositional line
- Sit upright for a more formal portrait
- Let one hand support the pose without placing the full weight of the head into it
The chair, clothing and camera angle will change what works. Do not force an uncomfortable position simply because it looked effortless in a reference photograph.

An active seated pose and a genuine reaction, not a held smile.
10. Practise transitions, not a pose collection
Saving reference images can help communicate a mood, but trying to reproduce every detail often creates frustration. The model in the reference has different proportions, clothing, light and camera placement. Copy the intention, not the anatomy.
A better ten-minute practice is to record a short phone video while you:
- Turn slowly from front to side
- Shift your weight between your feet
- Move your hands from relaxed to pocket, cuff and hair
- Look away, return your eyes and change expression
- Sit, lean slightly forward and stand again
Watch for the transitions that feel natural. You are learning how your body moves, not selecting one permanent pose.
What your photographer should be doing
A first-time client should not be left in silence with the instruction to "just be natural". Clear direction may include:
- Demonstrating the movement
- Adjusting one detail at a time
- Explaining where to look
- Watching hands, clothing and hair
- Giving feedback when a frame works
- Changing the pose when it does not suit the light or objective
- Respecting stated boundaries
- Creating time to reset rather than treating early frames as a final performance
At a Photoczaro session, direction covers posture, hands, expression, movement, framing and light. The first few minutes are allowed to be a warm-up. You do not need previous modelling experience to book a portrait session.
What not to do before your first photoshoot
Do not memorise dozens of poses
You will spend the session trying to remember a checklist instead of responding to direction.
Do not hold your breath
Breath-holding shows in the shoulders, mouth and hands. Exhale before the frame and reset often.
Do not hide discomfort
Tell the photographer if a position hurts, an outfit needs adjusting or a direction crosses a boundary. A photograph is not improved by ignoring your safety or comfort.
Do not judge every test frame
Early photographs help the photographer refine light, angle and direction. One awkward frame is not a forecast of the final set.
Do not make last-minute changes to your appearance for the camera
Choose grooming, hair and wardrobe intentionally during planning. A sudden change the night before creates uncertainty when you should be arriving rested.
A simple plan for the day
- Arrive on time and in the agreed first look.
- Bring the wardrobe and backup options discussed in advance.
- Show the photographer a small number of references, not an entire saved folder.
- Explain your intended use and comfort boundaries.
- Expect the first frames to be a warm-up.
- Listen for one adjustment at a time.
- Ask to reset if you become tense.
- Let movement create options.
You do not need to perform confidence perfectly. Confidence often arrives after you see that the photographer is paying attention and giving you useful direction.
Frequently Asked Questions
Work with me
Based in Dubai. First portrait session? You'll be directed through it from the first frame - no need to arrive with poses ready. Share what the session is for and I'll help you plan it.